
Table of Contents
- Step 1: Isolate Your IP Camera Network with VLANs
- Step 2: Harden Camera Firmware and Admin Credentials
- Step 3: Configure Firewall Rules and Disable Port Forwarding
- Step 4: Secure Remote Access with VPN and HTTPS
- Step 5: Choose NDAA Compliant Security Systems
- Step 6: Implement Detection and Monitoring for Post-Compromise Threats
- Step 7: Evaluate Storage and Mobile App Security Trade-offs
- Frequently Asked Questions
Last Updated: October 4, 2026
Step 1: Isolate Your IP Camera Network with VLANs
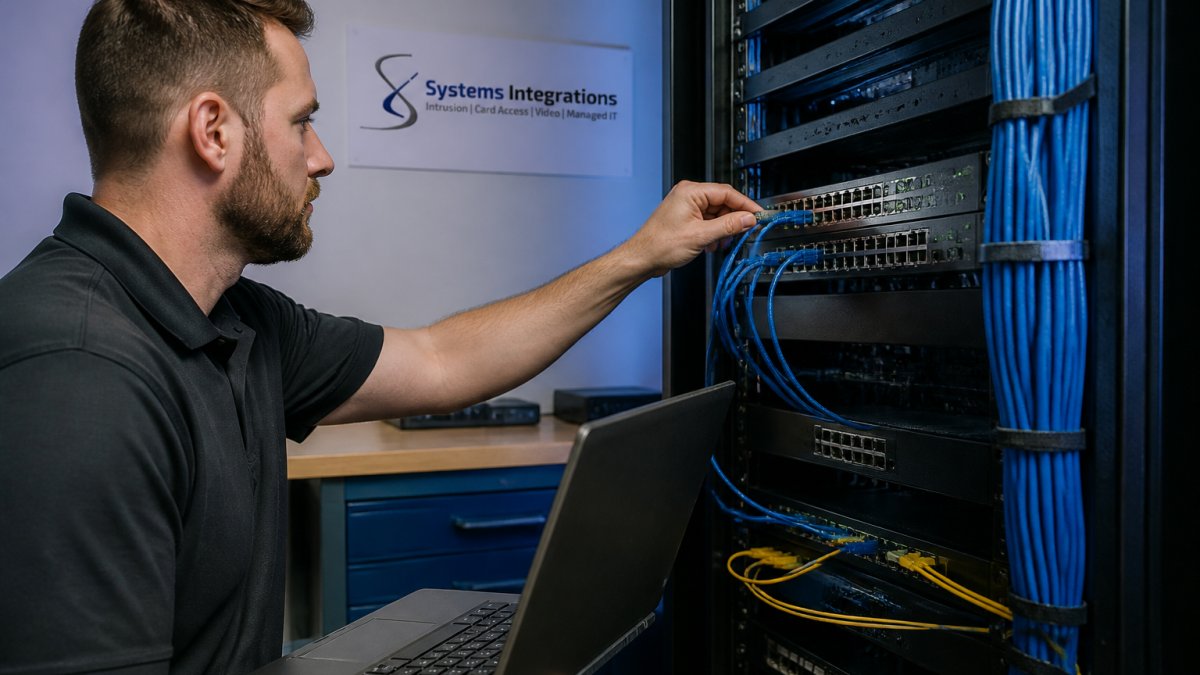
IP camera network isolation is the single highest-impact step in securing network attached cameras, and it starts with a dedicated VLAN. According to CISA guidance on securing internet-connected devices, separating IoT devices from primary business networks limits lateral movement when a device is compromised. At Systems Integrations, we treat segmentation as the foundation of every deployment: if a camera is breached, the attacker should hit a wall, not your file server.
A VLAN is a logically separated segment of a physical network that keeps camera traffic away from workstations, servers, and guest Wi-Fi.
Setting Up a Dedicated VLAN for Cameras
- Create a new VLAN on your managed switch (for example, VLAN 30) and assign it its own subnet.
- Move every IP camera, NVR, and PoE port onto that VLAN.
- Block inter-VLAN routing from the camera VLAN to all others, with one exception: your VMS server.
- Disable DHCP on the camera VLAN and assign static IP addresses instead.
That last step matters more than most guides admit. Static IP assignment plus MAC address filtering means a rogue device plugged into a camera port cannot pull an address or reach the network. It is not foolproof, but it raises the effort required to abuse a physical port.
A common mistake is leaving the camera VLAN’s default gateway pointing at your core router. Point it only at the VMS server. If the camera has no route to the internet, it has no route to an attacker’s command server either.
Step 2: Harden Camera Firmware and Admin Credentials
Firmware is where most camera compromises begin. Vendors ship devices with default admin credentials and outdated firmware, and both are public knowledge within hours of a model’s release.
Firmware Update Best Practices for Cameras
- Check the vendor’s security advisory page monthly, not annually.
- Stage updates on one camera before rolling them across a fleet.
- Verify the firmware signature or checksum when the vendor provides one.
- Replace any camera whose vendor has stopped issuing patches. End-of-support hardware is a permanent vulnerability.
Change every default username and password before the camera touches the network. Use unique credentials per device, store them in a password manager, and enable multi-factor authentication on the NVR or VMS admin account. Where the camera supports it, disable UPnP entirely; it opens ports without your knowledge.
Leaving default admin credentials in place is the fastest path to a camera botnet. Attackers scan for these logins continuously, and a compromised camera becomes a pivot point into your network.
Step 3: Configure Firewall Rules and Disable Port Forwarding
Port forwarding is the most common self-inflicted wound in camera security. Every forwarded port is a publicly reachable login page, and cameras are notoriously slow to patch. The practical goal is simple: no camera and no NVR should ever be reachable directly from the public internet.
Why Port Forwarding and UPnP Are the Real Problem
Two mechanisms quietly expose cameras:
- Manual port forwarding. Someone maps external port 8080 to a camera’s internal web interface so they can “check the feed from home.” That login page is now indexed by scanners within hours.
- UPnP (Universal Plug and Play). Many cameras ship with UPnP enabled and will ask the router to open a port on their behalf, with no admin action and no log entry the operator notices. Disable UPnP on the router and on every camera; treat any camera that requires it as untrusted.
A common pattern is a camera that was never intentionally exposed but is reachable anyway because UPnP did the forwarding silently. Audit your router’s port-forwarding and UPnP tables before you trust your perimeter.
Concrete Firewall Rule Logic
Build rules around least privilege rather than around convenience. A workable default set:
- Deny all inbound from the internet (WAN) to the camera VLAN. No exceptions for “just this one camera.”
- Allow the VMS server to initiate connections to cameras on the camera VLAN (management and stream ports).
- Deny camera-initiated outbound to the internet. Cameras should reach the VMS and nothing else.
- Deny inter-VLAN routing from the camera VLAN to workstations, servers, and guest Wi-Fi.
- Log denies on the camera VLAN so you can see scanning and beaconing attempts.
If remote viewing is a requirement, do not solve it with a forward. Route it through a VPN (Step 4) so the camera stays invisible to the public web.
According to NIST Cybersecurity Framework guidance, least-privilege network access is a core control for reducing attack surface. Applied here, that means cameras talk to the VMS and nothing else, inbound or outbound.
A forwarded port on a camera is not a small risk. It is a public login prompt attached to a device that may not have received a firmware patch in years. Remove the forward, disable UPnP, and confirm from an external network that the camera is unreachable.
Test your own perimeter. From a network outside your building, attempt to reach each camera’s IP and web port. If anything answers, you have a forward or UPnP rule you missed.
Step 4: Secure Remote Access with VPN and HTTPS
Remote access does not require exposing a camera to the internet. A VPN gives authorized users an encrypted tunnel into the network, so the camera stays invisible to the public web.
Two rules apply. First, use the VPN your firewall or a dedicated appliance provides, and require MFA on every VPN account. Second, when you reach the camera or VMS web interface, confirm it loads over HTTPS with a valid certificate.
Cloud-managed platforms often handle remote access through their own encrypted relay, which can be simpler than a self-hosted VPN. The trade-off is that your video traffic passes through the vendor’s infrastructure.
Step 5: Choose NDAA Compliant Security Systems
NDAA compliant security systems avoid hardware from manufacturers banned under Section 889 of the John S. McCain National Defense Authorization Act. For government contractors and any organization with federal contracts, this is not optional.
Compliance starts at procurement. Ask your integrator for written confirmation of the manufacturer and country of origin for every camera, NVR, and access control component. Then verify it against the current covered list rather than trusting a datasheet.
Systems Integrations designs and deploys NDAA-compliant video surveillance and access control for government contractors, healthcare networks, and multi-site enterprises, and we document compliance for every component we install. That documentation is what auditors actually ask for.
Step 6: Implement Detection and Monitoring for Post-Compromise Threats
Most camera security advice stops at prevention. That is a mistake. Assume a device will eventually be compromised and build detection around that assumption.
Post-compromise detection means watching for the behavior of a breached camera, not just the breach itself. Practical signals to monitor:
- A camera initiating outbound traffic to an unfamiliar IP address
- Failed login attempts spiking on the NVR or VMS
- A camera dropping off the network and reappearing with a changed MAC address
- Unusual bandwidth spikes on the camera VLAN
Your firewall logs and VMS audit trail are the two best sources for these signals. Route them into a SIEM or a managed monitoring service so someone actually reviews them. A camera that gets compromised at 2 a.m. and is caught at 9 a.m. has already done its damage.
Step 7: Evaluate Storage and Mobile App Security Trade-offs
Most camera security guides stop at network isolation and never address where the footage goes or how you view it. That is the gap this section fills: storage and mobile access are where security and convenience pull in opposite directions, and they are the two places a well-segmented deployment still leaks.
Cloud vs. Local Storage: The Security Trade-off
Local storage on an NVR or a camera’s microSD card keeps footage on your premises. That suits organizations with strict data residency requirements and removes the vendor from your video path entirely. The trade-off is physical: an NVR can be stolen or destroyed in the same event that makes the footage matter, and microSD cards in cameras fail or get pulled.
Cloud storage survives theft, fire, and site loss, and it enables multi-site access without a self-hosted VPN. But it sends video off-site through the vendor’s encryption, which means you are trusting the vendor’s key management. Before committing, verify two things in writing:
- Encryption at rest on the vendor’s storage, and who holds the keys.
- Encryption in transit (TLS) between camera, cloud, and viewing client.
A common pattern is a vendor that encrypts in transit but stores footage unencrypted at rest, or holds the keys itself so it can decrypt on request. For government contractors and healthcare facilities, that is a compliance question to answer before deployment, not after.
Mobile App Security: The Weakest Link
Every mobile viewing app is another authentication surface, and companion apps are frequently the least-hardened part of a camera system. Evaluate each app on concrete criteria:
- MFA support. If the app only accepts a username and password, a stolen credential is full access to live and recorded video.
- Credential storage. Check whether the app stores tokens in the device keychain/keystore or in plaintext. A rooted or jailbroken device can expose plaintext credentials.
- Certificate pinning. Pinning prevents a man-in-the-middle proxy from intercepting the app’s traffic. Apps without it are easier to intercept on hostile networks.
- Update cadence. If the app has not been updated in over a year, assume it is unpatched and treat it as a liability.
Where possible, prefer viewing through the VMS’s own client over a vendor cloud app, and require MFA on the account that the app uses.
MAC Address Filtering and Static IP: Honest Effectiveness
These are often listed as best practices without explaining what they actually stop. Static IP assignment plus MAC filtering on a fixed camera port prevents a rogue device from pulling a DHCP address and joining the camera VLAN, it stops the casual plug-in-and-scan attempt cold. It does not stop an attacker who can observe traffic and spoof a known MAC, and it does nothing against a compromised camera already on the VLAN. Treat it as a speed bump that raises effort, not a control you rely on.
| Decision | Better For | Trade-off |
|---|---|---|
| Local NVR storage | Strict data residency, single site | Vulnerable to theft or fire |
| Cloud storage | Multi-site, disaster recovery | Video leaves your premises; verify at-rest encryption and key custody |
| Self-hosted VPN access | Maximum control, compliance | More setup and maintenance |
| Vendor cloud relay | Fast deployment, low maintenance | Traffic passes through vendor; check MFA and pinning in the app |
The network can be perfectly segmented and the deployment can still leak through an unencrypted cloud bucket or a companion app with no MFA. Audit storage encryption and mobile app authentication with the same rigor you apply to the VLAN.
Frequently Asked Questions
How do I prevent remote hacking of my security camera system?
Prevent remote hacking by isolating cameras on a dedicated VLAN, disabling UPnP and port forwarding, using strong unique passwords with multi-factor authentication, and keeping firmware updated. Avoid exposing cameras directly to the internet; instead, use a VPN for remote access. Regularly monitor network traffic for anomalies and review access logs to detect unauthorized attempts early.
What are the best practices for isolating IP cameras on a network?
Best practices include creating a separate VLAN for all IP cameras, assigning static IP addresses, and configuring firewall rules to block inter-VLAN traffic except from authorized management systems. Disable unused services like telnet and UPnP. Use a dedicated NVR or VMS that sits on the same VLAN, and ensure all remote access goes through a VPN rather than direct port forwarding.
What is the role of NDAA compliance in camera security?
NDAA compliance ensures that cameras and networking equipment come from trusted manufacturers, reducing supply chain risks. It prohibits certain foreign-made components that could contain backdoors. For government contractors and critical infrastructure, using NDAA compliant security systems is often mandatory. It also signals a commitment to cybersecurity best practices, as compliant devices typically receive regular firmware updates and security patches.
Can network-attached cameras be protected using VLANs?
Yes, VLANs are one of the most effective ways to protect network attached cameras. By segmenting camera traffic onto a separate VLAN, you limit lateral movement if a camera is compromised. Combined with firewall rules that restrict access to the camera VLAN, this creates a robust barrier. VLANs also help with network performance by reducing broadcast traffic on the main network.